

It usually starts with a phone call. A client asks why you sent them a strange invoice. Or a supplier wants to confirm your “new” bank details. Or a colleague mentions they got an odd link from you this morning.
You didn’t send any of it. Someone else did, from your mailbox.
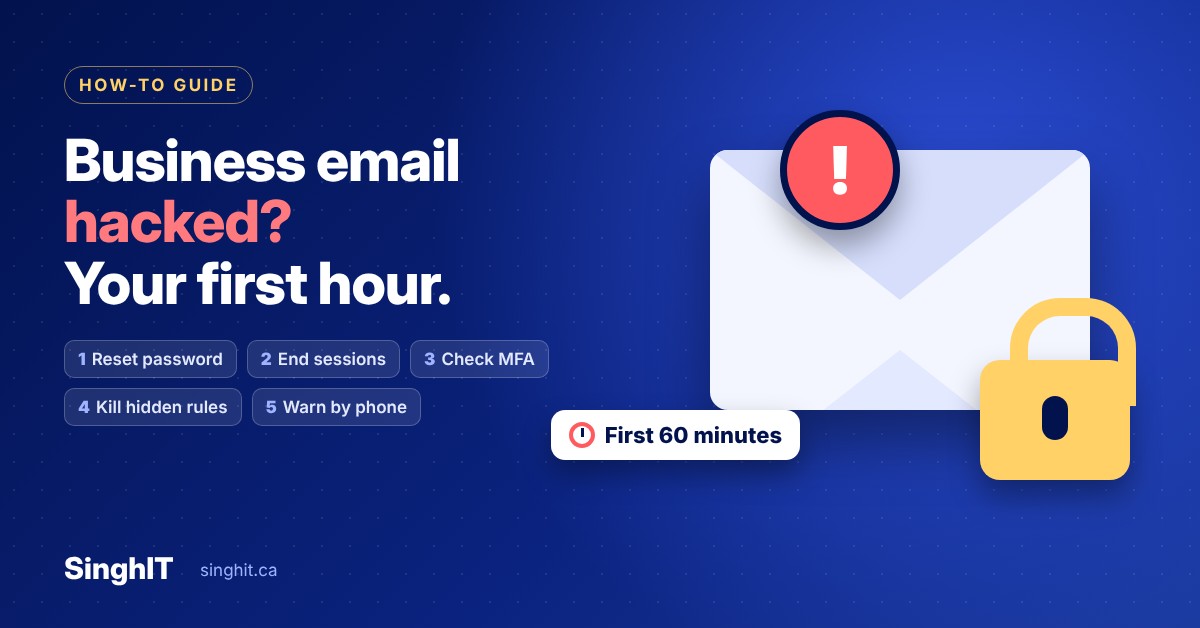
The first hour matters more than anything that comes after it. Attackers who get into a business mailbox rarely smash and grab. They sit quietly, read your conversations, set up hidden rules and wait for a payment to redirect. Moving fast, and in the right order, limits how much damage they can do.
Here’s exactly what we tell our own clients to do, step by step.
First, Make Sure It Really Is a Hack
Common signs include sent emails you don’t remember writing, replies to messages you never saw, password reset emails you didn’t ask for, sign-in alerts from another country, and contacts telling you they’re getting spam from your address. If even one of these sounds familiar, treat it as real until proven otherwise. Our knowledge base has a fuller checklist: Signs Your Email Account Has Been Hacked and What to Do Right Now.
Step 1: Switch to a Device You Trust
If your computer clicked a bad link or opened a dodgy attachment, it may be the reason the attacker got in. Do the next few steps from a different computer or your phone on mobile data, not from the machine you suspect.
Step 2: Change Your Password Right Away
Pick a new password you have never used anywhere else. A long passphrase of four or five random words is far stronger than a short password full of symbols. If you use Microsoft 365, follow our guide: How to Reset or Change Your Microsoft 365 Password. If you can’t get in at all, call your IT provider now. An administrator can reset it for you in minutes.
Step 3: Kick the Attacker Out of Every Session
Changing your password doesn’t always end sessions that are already open. In Microsoft 365, an administrator can open the admin centre, select your account and choose Sign out of all sessions. This forces every device, including the attacker’s, to sign in again with the new password.
Step 4: Check Your Sign-In Methods
This is the step most people skip. A smart attacker will add their own phone number or authenticator app to your account so they can get back in later. Review your security info, remove anything you don’t recognise, and make sure multi-factor authentication is switched on. Here’s how: How to Set Up Multi-Factor Authentication (MFA) for Microsoft 365.
Step 5: Look for Hidden Inbox Rules and Forwarding
Attackers love inbox rules. A typical one quietly moves any email containing words like “invoice”, “payment” or “bank” into a folder you never open, so you don’t see the replies to their fake requests. Another forwards copies of your mail to an outside address.
In Outlook on the web, open Settings, then Mail, and check both Rules and Forwarding. Delete anything you didn’t create yourself. Take a screenshot first; your IT team will want to see it.
Step 6: Review Sent and Deleted Items
Scroll through your Sent Items for the last few days to see who the attacker contacted. Then check Deleted Items, because attackers often delete their sent messages and any replies to cover their tracks. If something is missing, it can often be brought back: Recover a Deleted Email in Outlook.
Step 7: Warn the People Who Matter, by Phone
Call your accounts team, your key clients and any supplier you pay regularly. Tell them to ignore any recent request from you to change bank details or make an urgent payment. Use the phone, not email. Anyone still watching your mailbox could intercept or answer a warning email.
If money has already been sent to a fraudulent account, call your bank immediately. The faster they act, the better the chance of stopping or recovering the transfer. Report it to your local fraud reporting agency as well.
Step 8: Check the Computer That Was Used
Run a full scan with your security software, or better, have your IT provider check the device. A password stolen by malware on your laptop will simply be stolen again after you change it.
Step 9: Write Down What Happened
Note the time you noticed the problem, what you saw, which rules you removed and who you contacted. It feels like paperwork in the middle of a crisis, but it matters if you need to make an insurance claim, notify clients whose information may have been exposed, or work out how the attacker got in.
How to Stop It Happening Again
- Use an authenticator app for MFA, not text messages, on every email account.
- Use a password manager so every account has its own strong password. New to them? Start here: What Is a Password Manager and Why Should You Use One?
- Teach your team the warning signs. Most email takeovers start with a convincing fake login page. Share How to Spot a Phishing Email and What to Do with everyone who has a work mailbox.
- Agree a call-back rule. Any change to bank details gets confirmed by phone, using a number you already have, never one from the email.
You’ll find more plain-English guides like these in the SinghIT Knowledge Base.
How we help
When a client calls us about a hacked mailbox, we lock the account down, remove the attacker’s rules and sign-in methods, check the logs to see exactly what they touched, and help you work out who needs to be told. Our 24/7 NOC and SOC monitoring watches for suspicious sign-ins around the clock, so most takeover attempts are caught before you ever notice a strange email.
If you’re ready to take control of your IT strategy, schedule a 30-minute call to see how we can help.
Every day without a clear IT plan can lead to missed opportunities and increased risk. Now is the time to put the right strategy in place and ensure your technology is working for you, not against you. If you would like to learn how the IT professionals at SinghIT can support your business and help your business grow with confidence, contact us today at (437) 880-2051.